How to Make Cranberry Cake Filling in 20 Minutes
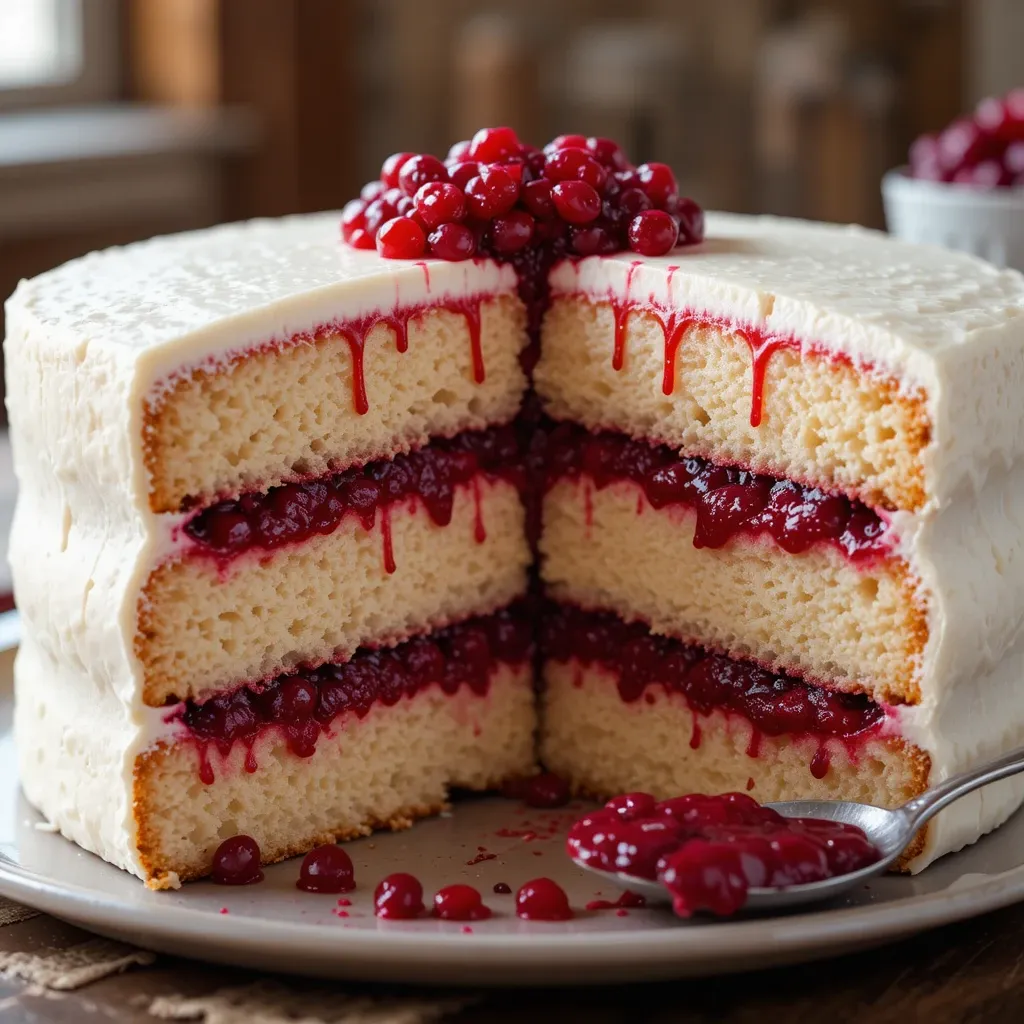
There’s something magical about slicing into a layer cake and discovering a vibrant, ruby-red cranberry cake filling nestled between fluffy vanilla layers. This homemade cranberry cake filling is bursting with tart-sweet flavor, perfectly balanced with just the right amount of natural pectin for that luxurious, spreadable texture.
I still remember the first time my grandmother taught me this recipe during the holidays—the kitchen smelled incredible, and honestly, I may have eaten more filling straight from the spoon than actually made it into the cake! This recipe is ridiculously simple, takes only about 20 minutes from start to finish, and uses pantry staples you probably already have.
If you loved my strawberry cream filling, you’re going to obsess over this cranberry version—it’s like the sophisticated older sister who went to culinary school. Trust me, once you make this cranberry cake filling, you’ll never buy store-bought again.
What is Cranberry Cake Filling?
So what exactly makes this a “cake filling” versus just cranberry sauce? Great question! Cranberry cake filling is essentially a thickened, sweetened cranberry compote that’s been specially prepared to hold its shape between cake layers without soaking through or making your beautiful creation slide apart.
It’s got more body than regular cranberry sauce and less sugar than jam, making it the Goldilocks of fruit fillings—just right! My kids call it “fancy cranberry stuff,” and honestly, they’re not wrong.
As the saying goes, “the way to a man’s heart is through his stomach,” but I’d argue the way to anyone’s heart is through a perfectly layered cake with this gorgeous filling. Ready to become the star baker at your next gathering? Let’s do this!
Why You’ll Love This Cranberry Cake Filling
The Perfect Balance of Tart and Sweet
This cranberry cake filling hits that magical sweet spot where the natural tartness of fresh cranberries meets just enough sugar to make everything sing. Unlike overly sweet store-bought fillings that can make you feel like you just ate a sugar cube, this version lets the cranberries shine while still satisfying your sweet tooth. The texture is absolutely dreamy—thick enough to stay put between layers but smooth enough to spread effortlessly with an offset spatula.
Budget-Friendly Homemade Goodness
Making cranberry cake filling at home costs a fraction of what you’d pay for those tiny jars at specialty baking stores. A 12-ounce bag of fresh cranberries usually runs about $3-4 and makes enough filling for a standard two-layer 9-inch cake with plenty left over for toast the next morning (yes, I do this, and yes, you should too). Plus, you control exactly what goes in—no weird preservatives, artificial colors, or ingredients you can’t pronounce.
Versatility That Goes Beyond Cake
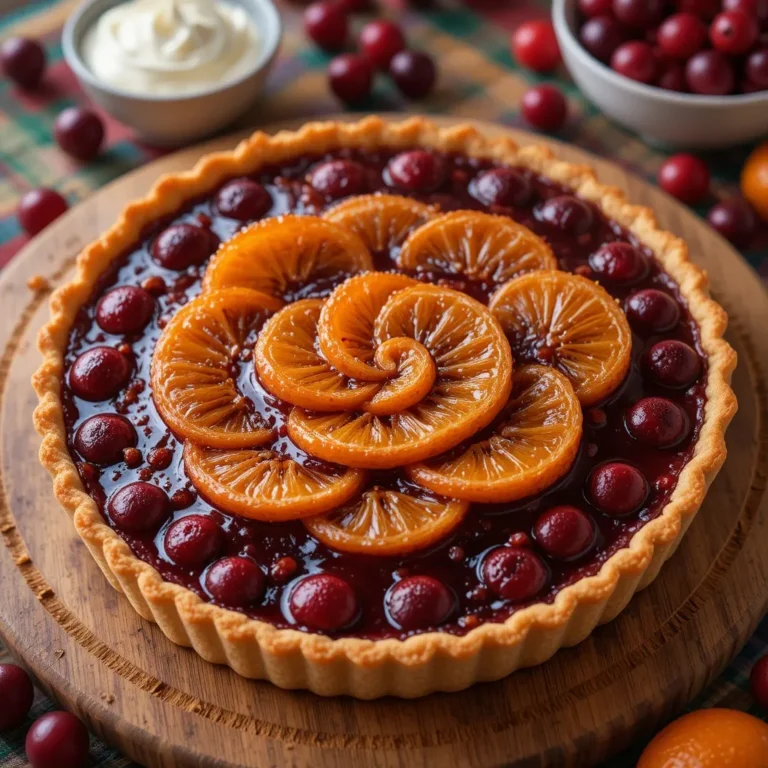
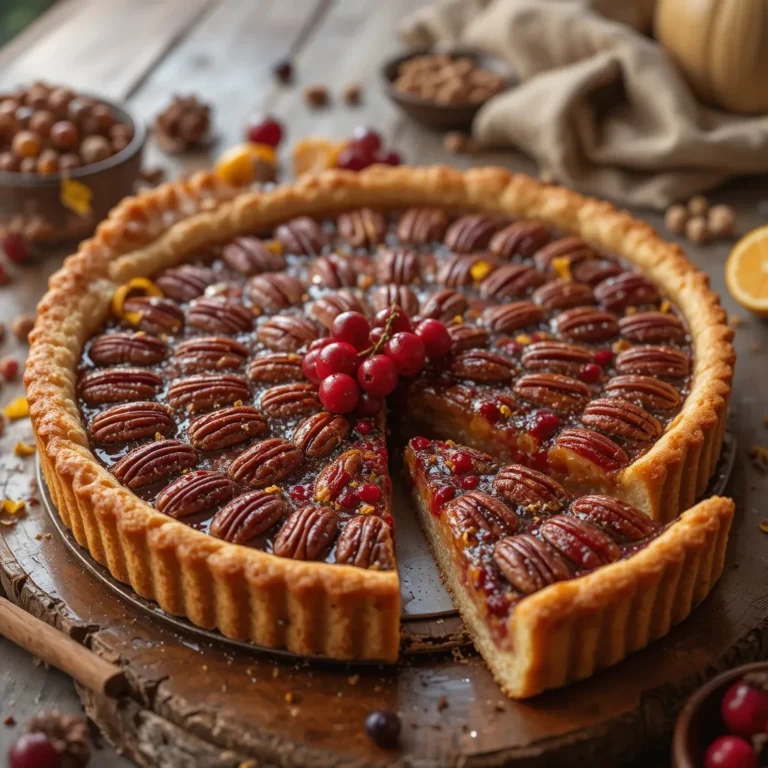
While this filling is obviously perfect for cakes, it’s also incredible swirled into cheesecake, dolloped on scones, spread between cookie sandwiches, or even stirred into your morning yogurt. I’ve used it as a tart filling, a crepe filling, and once, in a moment of pure genius (or desperation), as a glaze for roasted pork. It worked spectacularly!
If you enjoyed my lemon curd recipe, you’ll love how this cranberry filling offers that same homemade quality with a completely different flavor profile. Go ahead and make a double batch—you’ll find a million ways to use it, and your future self will thank you when holiday baking season hits.
How to Make Cranberry Cake Filling
Quick Overview
This cranberry cake filling comes together in one saucepan with minimal effort required. The natural pectin in cranberries does most of the thickening work for you, creating that perfect jammy consistency without adding any cornstarch or gelatin. The fresh citrus brightens everything up, and the hint of vanilla adds warmth and depth. It’s foolproof enough for beginners but impressive enough to serve at the fanciest occasions.
Prep Time: 5 minutes
Cook Time: 15 minutes
Cooling Time: 30 minutes
Total Time: 50 minutes
Yield: About 2 cups (enough for one 9-inch layer cake)
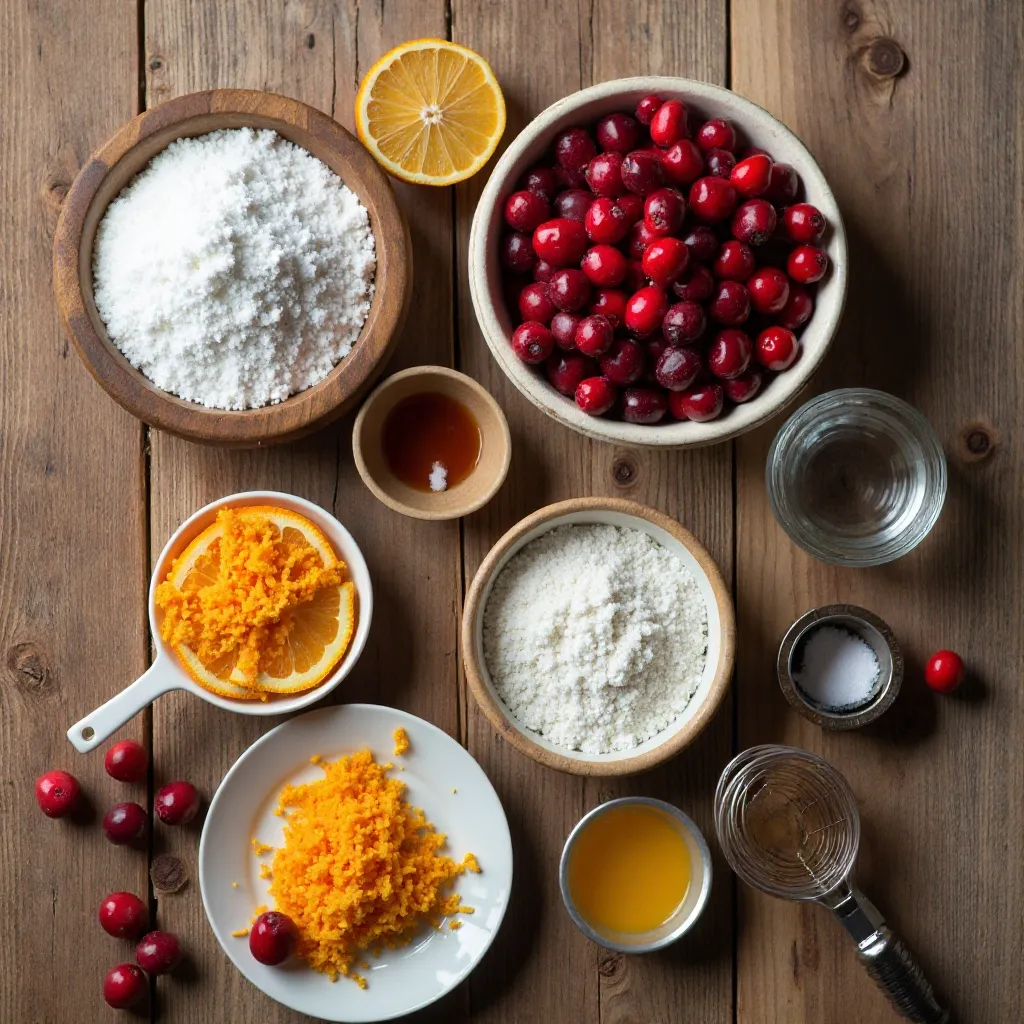
Key Ingredients for Cranberry Cake Filling
- 12 oz (340g) fresh or frozen cranberries – Fresh is ideal, but frozen works perfectly (no need to thaw)
- 3/4 cup (150g) granulated sugar – Adjust based on your sweetness preference
- 1/4 cup (60ml) water – Helps the cranberries break down
- Zest of 1 orange – Adds brightness and complexity
- 2 tablespoons fresh orange juice – Enhances the citrus notes
- 1/4 teaspoon vanilla extract – Rounds out the flavor
- Pinch of salt – Essential for balancing sweetness
- Optional: 1 tablespoon cornstarch mixed with 1 tablespoon water – Only if you want an extra-thick filling
Step-by-Step Instructions
Step 1: Prepare Your Ingredients
Rinse your cranberries thoroughly and pick out any that are soft or blemished. Zest your orange before juicing it—this is so much easier than trying to zest a juiced orange, trust me on this one. Have all your ingredients measured and ready to go because once those cranberries start popping, things move quickly.
Step 2: Combine Cranberries and Sugar
In a medium saucepan, combine the cranberries, sugar, and water. Give everything a good stir to help the sugar start dissolving. Don’t worry if it looks like not enough liquid—the cranberries will release a ton of juice as they cook.
Step 3: Cook the Mixture
Place the saucepan over medium heat and bring to a gentle boil. You’ll hear the cranberries start to pop after about 5 minutes—it’s oddly satisfying, like culinary bubble wrap! Reduce the heat to medium-low and let it simmer for about 10-12 minutes, stirring occasionally. The cranberries will burst, and the mixture will start to thicken. Use the back of your spoon to gently smash any stubborn cranberries that haven’t popped yet.
Step 4: Add the Flavor Boosters
Once your mixture has thickened to where it coats the back of a spoon, remove it from the heat. Stir in the orange zest, orange juice, vanilla extract, and salt. The kitchen will smell absolutely incredible at this point. If you want your filling extra thick (great for tall layer cakes), whisk in the cornstarch slurry and return to heat for 1-2 minutes until it thickens further.
Step 5: Cool Completely
Transfer the cranberry cake filling to a heat-safe bowl and let it cool to room temperature. As it cools, it will thicken up even more—this is exactly what you want. I usually press a piece of plastic wrap directly onto the surface to prevent a skin from forming. Once cool, refrigerate for at least 30 minutes before using. The filling will continue to firm up as it chills.
Step 6: Test the Consistency
Before using, give your filling a stir. It should be thick and spreadable, similar to jam but not quite as stiff. If it seems too thick, stir in a teaspoon of water at a time until you reach your desired consistency. Too thin? Pop it back on the stove for a few more minutes of cooking.
What to Serve Cranberry Cake Filling With
This versatile cranberry cake filling pairs beautifully with so many cake flavors and occasions. Here are my favorite combinations:
Classic Vanilla or White Cake – This is the most traditional pairing, and for good reason. The simplicity of vanilla lets the cranberry shine while providing a perfect textural contrast.
Chocolate Cake – Hear me out! The tartness of cranberries cuts through rich chocolate beautifully. It’s like a sophisticated chocolate-covered cranberry in cake form.
Almond Cake – Cranberries and almonds are a match made in heaven. Add some almond extract to your cake batter for an extra special treat.
Orange Chiffon Cake – Since we’re already using orange in the filling, this creates a cohesive citrus-cranberry flavor profile that’s absolutely stunning.
Spice Cake – Perfect for fall and winter celebrations. The warm spices complement the tart cranberries incredibly well.
Beverage Pairings: Serve slices with hot tea (Earl Grey is divine), mulled cider, champagne for celebrations, or a good strong coffee.
Top Tips for Perfecting Cranberry Cake Filling
Don’t Skip the Citrus
The orange zest and juice aren’t just “nice to have”—they’re essential for balancing the cranberry’s tartness and adding complexity. Lemon works too if you prefer a more tart profile, but orange is my go-to.
Adjust Sweetness to Your Taste
Start with 3/4 cup of sugar and taste as you go. If you’re using your filling with a very sweet frosting, you might want less sugar in the filling itself. I’ve made this with as little as 1/2 cup and as much as 1 cup depending on the application.
Watch Your Heat
Medium to medium-low heat is your friend here. Too high and the sugar can burn before the cranberries break down properly. Low and slow wins this race.
The Wooden Spoon Test
To check if your filling is done, dip a wooden spoon into it and run your finger across the back. If the line holds without running, you’re good to go. This is the same test used for custards and jams.
Make It Ahead
This filling actually tastes better after sitting for a day, as the flavors meld together. Make it up to 3 days in advance and store it covered in the refrigerator.
Prevent Soggy Cake Layers
Always make sure your filling is completely cool before spreading it on cake layers. Warm filling can make cakes soggy and cause layers to slide. For extra insurance, pipe a border of frosting around the edge of each layer before adding filling—this creates a “dam” that keeps everything in place.
Storing and Reheating Tips
Refrigerator Storage: Store your cranberry cake filling in an airtight container in the refrigerator for up to 2 weeks. The high sugar and acid content act as natural preservatives, keeping it fresh and safe to eat. Always use a clean spoon when scooping out portions to prevent contamination.
Freezer Storage: This filling freezes beautifully for up to 6 months! Portion it into freezer-safe containers or bags, leaving a little headspace for expansion. I like to freeze it in 1-cup portions for easy thawing. Label with the date and contents—future you will appreciate this organization.
Thawing: Move frozen filling to the refrigerator 24 hours before you need it. Once thawed, give it a good stir to restore its smooth consistency. You can also thaw it in a bowl at room temperature for a few hours if you’re in a rush.
Reheating (If Desired): While you’ll typically use this filling cold in cakes, you can gently reheat it in the microwave or on the stovetop if you want to use it as a warm topping for pancakes, waffles, or ice cream. Heat in 15-second intervals, stirring between each, until it reaches your desired temperature.
Cake Storage: A cake filled with this cranberry filling should be stored in the refrigerator and will stay fresh for 3-4 days. Let it sit at room temperature for about 30 minutes before serving for the best texture and flavor.
Frequently Asked Questions
Can I use dried cranberries instead of fresh?
Fresh or frozen cranberries work best for this recipe because you need the moisture they release during cooking. Dried cranberries would need to be rehydrated first and won’t give you the same vibrant, fresh flavor or proper texture.
Why is my cranberry filling too runny?
The most common reason is not cooking it long enough. Continue simmering until the mixture noticeably thickens and coats the back of a spoon. Remember, it will thicken more as it cools. If it’s still too thin after cooling, you can cook it a bit longer or add the cornstarch slurry.
Can I reduce the sugar?
Yes! You can use as little as 1/2 cup of sugar, though the filling will be quite tart. You could also substitute with honey, maple syrup, or a sugar alternative, but this may affect the final consistency slightly.
How far in advance can I make this filling?
You can make it up to 3 days ahead and store it in the refrigerator, or freeze it for up to 6 months. Making it a day ahead actually improves the flavor as it gives time for everything to meld together.
My cranberries aren’t popping—what’s wrong?
Be patient! It can take 5-7 minutes of simmering before they start to burst. Make sure your heat is at medium and the mixture is actually bubbling. You can also help stubborn ones along by gently pressing them with the back of your spoon.
Can I make this sugar-free?
Yes, you can use sugar substitutes like erythritol or monk fruit sweetener. Use a 1:1 ratio, but note that the texture may be slightly different as sugar contributes to thickness.
What if I don’t have orange?
Lemon juice and zest work wonderfully, giving you a more tart profile. You could also use a combination of lemon and a splash of vanilla for a different but equally delicious flavor.
Can I add other fruits to this filling?
Absolutely! Cranberries pair beautifully with apples, pears, or raspberries. Just maintain the same total fruit weight and adjust cooking time as needed.
Nutrition Information
| Nutrient | Per 2 Tablespoons |
|---|---|
| Calories | 45 |
| Total Fat | 0g |
| Sodium | 10mg |
| Total Carbohydrates | 12g |
| Sugars | 10g |
| Protein | 0g |
| Vitamin C | 6% DV |
Note: Nutrition information is approximate and will vary based on specific ingredients used.
Common Baking Mistakes to Avoid
Mistake #1: Using the Filling While It’s Still Warm
This is the number one reason cakes slide apart! Always let your cranberry cake filling cool completely and chill before assembly. Warm filling will melt your frosting and make your cake layers slippery. Patience is a virtue, especially in baking.
Mistake #2: Overfilling Your Cake Layers
More isn’t always better. Use about 1/2 to 3/4 cup of filling per layer for a 9-inch cake. Too much filling creates instability and can ooze out the sides, making your cake look messy.
Mistake #3: Not Adjusting for Altitude
If you’re baking at high altitude, your filling might need to cook a bit longer to thicken properly due to lower boiling points. Keep a close eye on consistency rather than relying solely on cooking time.
Mistake #4: Forgetting to Taste and Adjust
Always taste your filling before using it. If it’s too tart, stir in a bit more sugar. Too sweet? Add a squeeze of lemon juice. You’re the chef—adjust to your preferences!
Mistake #5: Storing in a Warm Location
Even though this filling is cooked, it still needs refrigeration to maintain freshness and prevent spoilage. Don’t leave it sitting out on the counter overnight.
Mistake #6: Not Creating a Frosting Dam
For the most professional-looking cakes, pipe a ring of frosting around the edge of your cake layer before adding filling. This “dam” prevents the filling from squeezing out and keeps your layers neat and tidy.
Mistake #7: Using Old or Mushy Cranberries
Fresh, firm cranberries give you the best flavor and texture. Soft or wrinkled cranberries won’t have the same bright, tart taste and may make your filling too mushy.
Final Thoughts
Making your own cranberry cake filling is one of those small kitchen victories that makes you feel like a total rockstar baker. It’s easy enough for beginners but impressive enough to wow guests at holiday dinners and special celebrations. The gorgeous ruby color, the perfect tart-sweet balance, and that amazing fresh cranberry flavor simply can’t be replicated with anything from a jar.
I’ve been making this recipe for years, and it never gets old. Whether I’m using it in a classic vanilla layer cake for Thanksgiving, swirling it into cream cheese frosting for cupcakes, or spreading it on my morning toast (judge me all you want), it always delivers.
The beauty of this recipe is its versatility. Once you master the basic technique, you can play around with different flavor additions—try a pinch of cinnamon, a splash of Grand Marnier, or even some minced candied ginger for an extra kick.
So grab those cranberries and get cooking! Your cakes are about to level up in a major way. And when everyone asks what your secret is, you can smile and say it’s just a little something you whipped up from scratch. Because that’s what awesome bakers do.
Happy baking, friends! Drop a comment below if you try this recipe—I’d love to hear what you pair it with and how it turns out for you. Don’t forget to snap a photo and tag me on social media. Seeing your beautiful creations always makes my day!
Pro tip: Make a double batch and keep one in the freezer for those last-minute baking emergencies. You’ll thank me later!